Rotating Images
A common use case of image rotation is transforming images from landscape to portrait view. Rotating an image involves applying a geometrical operation to relocate pixel values of the image about a specified point. In ML dataset generation, rotations can be used to create variation of the same image to train models to recognize the same image presented in various views.
To demonstrate, lets work with the museum image below:
Implementing Resizing example
import cv
import numpy as np
import matplotlib.pyplot as plt

%matplotlib inline
%config InlineBackend.figure_format = 'retina'
museum = cv2.imread('rotation_original.jpg')
museum = cv2.cvtColor(museum, cv2.COLOR_BGR2RGB)
plt.imshow(museum)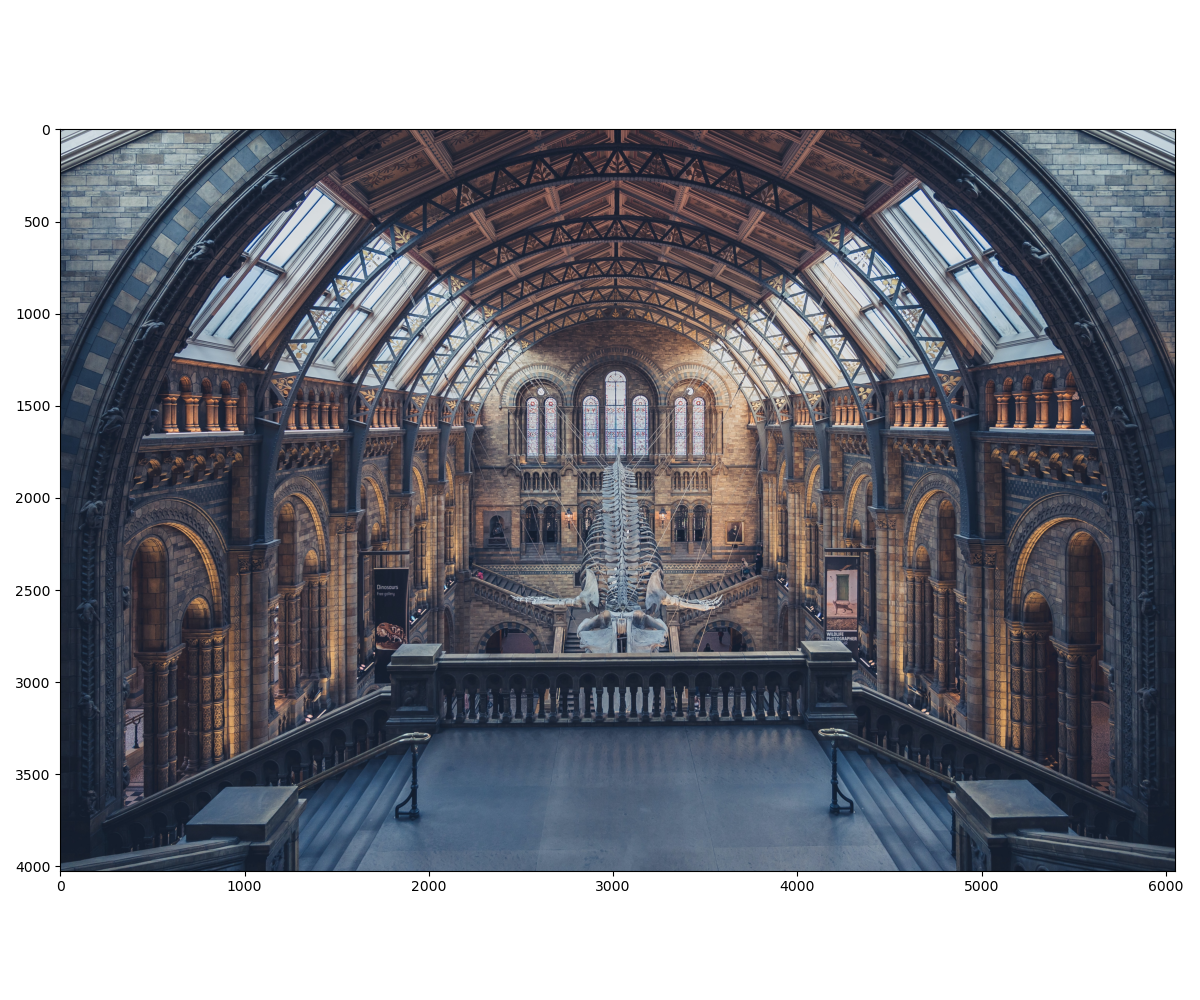
Rotation with OpenCV
OpenCV implements rotations in a two step process
1. cv2.getRotationMatrix2D() to return a rotation matrix.
This function returns a rotation matrix based on point about the rotation, rotation angle and scaling factor
Args:
- 1. $(x, y)$ point about which to rotate the image. Use (width/2, height/2) for the center
- 2. $\theta$: Rotation angle. i.e. 90 for 90 degrees
- 3. The scale factor. 1 means no scaling.
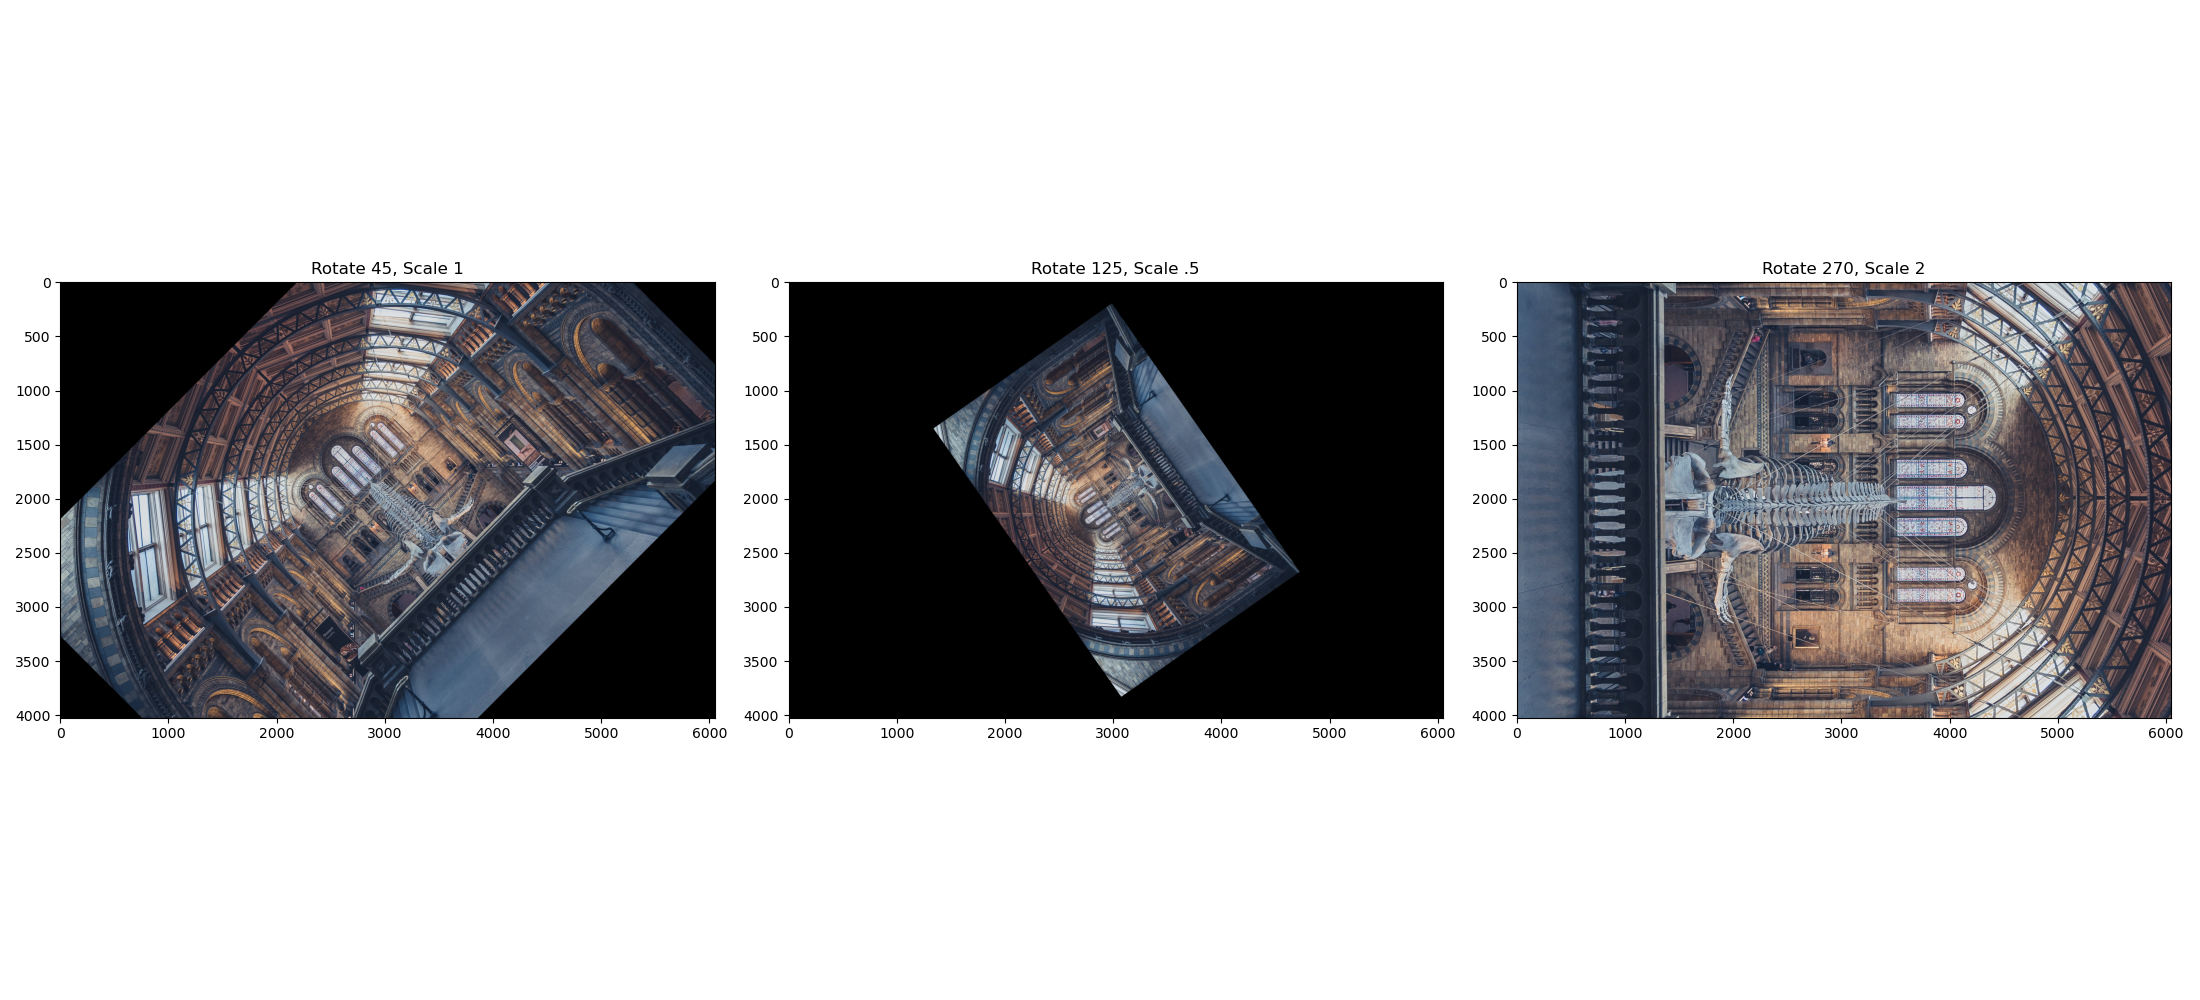
The implementation below tests out three rotations
1. 45 degree rotation with unit scaling
2. 125 degree rotation with .5 scaling (shrinking)
3. 270 degree rotation with 2 unit scaling (expanding/zooming)
# 45 degrees
rotation_matrix_45 = cv2.getRotationMatrix2D( ( museum.shape[1]/2, museum.shape[0]/2), 45, 1)
print("270 Rotation: \n", rotation_matrix_45)

# 125 degrees
rotation_matrix_125 = cv2.getRotationMatrix2D( ( museum.shape[1]/2, museum.shape[0]/2), 125, .5)
print("125 Rotation: \n", rotation_matrix_125)

# 270 degrees
rotation_matrix_270 = cv2.getRotationMatrix2D( ( museum.shape[1]/2, museum.shape[0]/2), 270, 2)
print("270 Rotation: \n", rotation_matrix_270)
270 Rotation:
[[ 7.07106781e-01 7.07106781e-01 -5.36989750e+02]
[-7.07106781e-01 7.07106781e-01 2.72759206e+03]]
125 Rotation:
[[-2.86788218e-01 4.09576022e-01 3.06718062e+03]
[-4.09576022e-01 -2.86788218e-01 3.82757579e+03]]
270 Rotation:
[[-3.6739404e-16 -2.0000000e+00 7.0480000e+03]
[ 2.0000000e+00 -3.6739404e-16 -4.0360000e+03]]
2. cv2.warpAffline() to perform rotation
This function takes the original image, rotation matrix, and output dimensions to perform an image rotation rotation.
Args:
- $img:$ The image we want to apply the transforamtion
- The transformation matrix (in this case the rotation matrix)
- The output dimension of the transformed image (in this case we use the original dimensions)
rotated_img_45 = cv2.warpAffine(museum, rotation_matrix_45, (museum.shape[1], museum.shape[0]))
rotated_img_125 = cv2.warpAffine(museum, rotation_matrix_125, (museum.shape[1], museum.shape[0]))
rotated_img_270 = cv2.warpAffine(museum, rotation_matrix_270, (museum.shape[1], museum.shape[0]))
Visualizing the Rotations
fig = plt.figure(figsize=(22, 10))

fig.add_subplot(131)
plt.imshow(rotated_img_45)
plt.title('Rotate 45, Scale 1')

fig.add_subplot(132)
plt.imshow(rotated_img_125)
plt.title('Rotate 125, Scale .5')

fig.add_subplot(133)
plt.imshow(rotated_img_270)
plt.title('Rotate 270, Scale 2')